Getting started with Praefic
Connecting a tenant takes a few minutes and four steps. You need:
- A Microsoft work account to sign in to Praefic.
- A Global Administrator (or another role allowed to grant tenant-wide admin consent) for step 2.
- Permission to assign roles on the management group or subscriptions you want scanned — Owner or User Access Administrator — for step 3.
Sign in
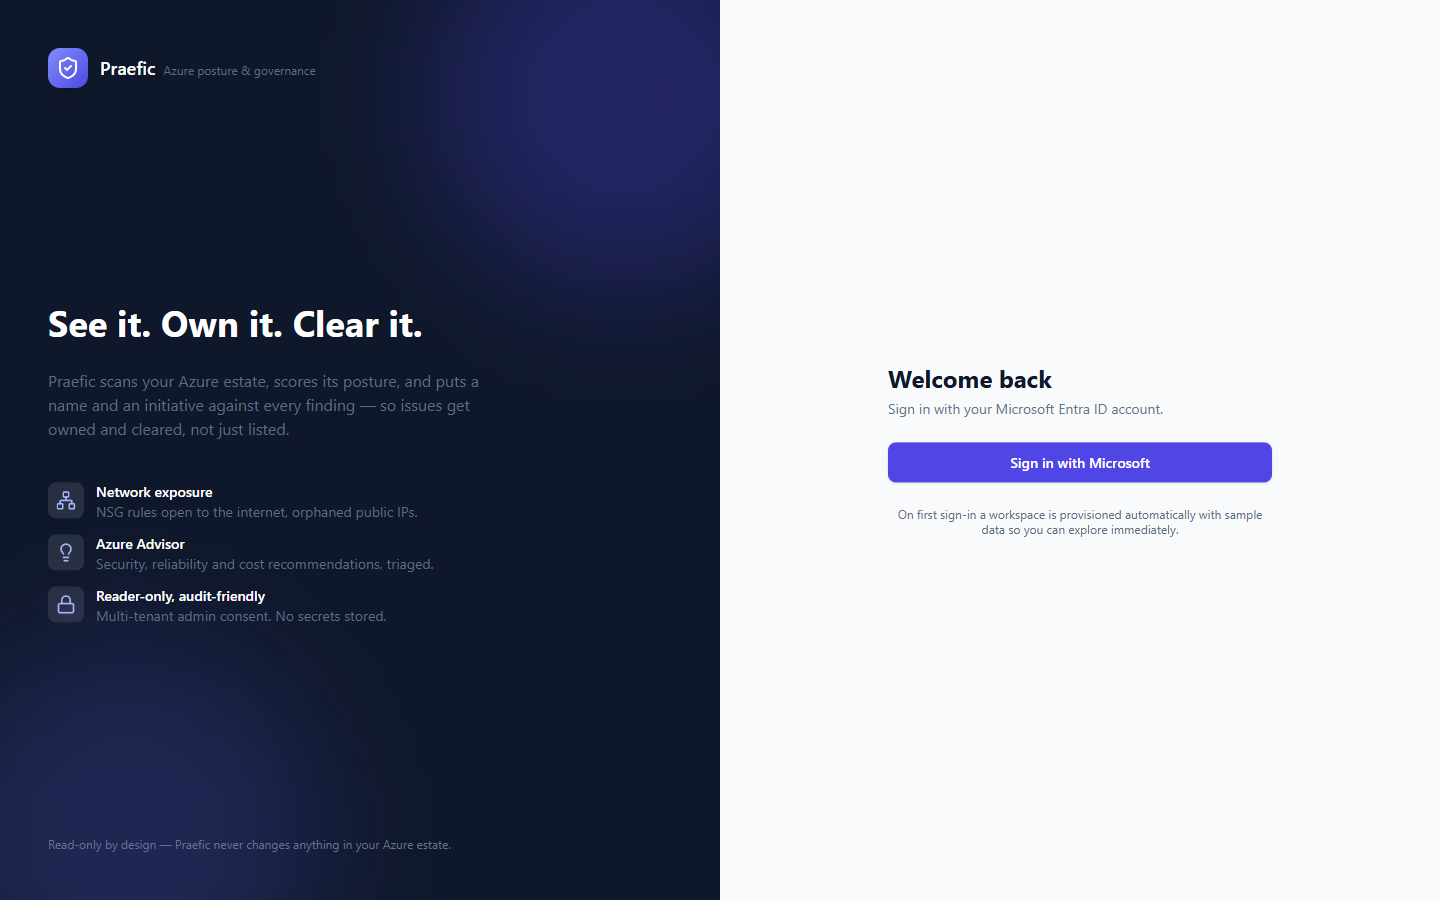
Open Praefic and choose Sign in with Microsoft. The first time anyone from your Entra tenant signs in, Praefic creates an organization for it and makes that person its owner.
Sample data
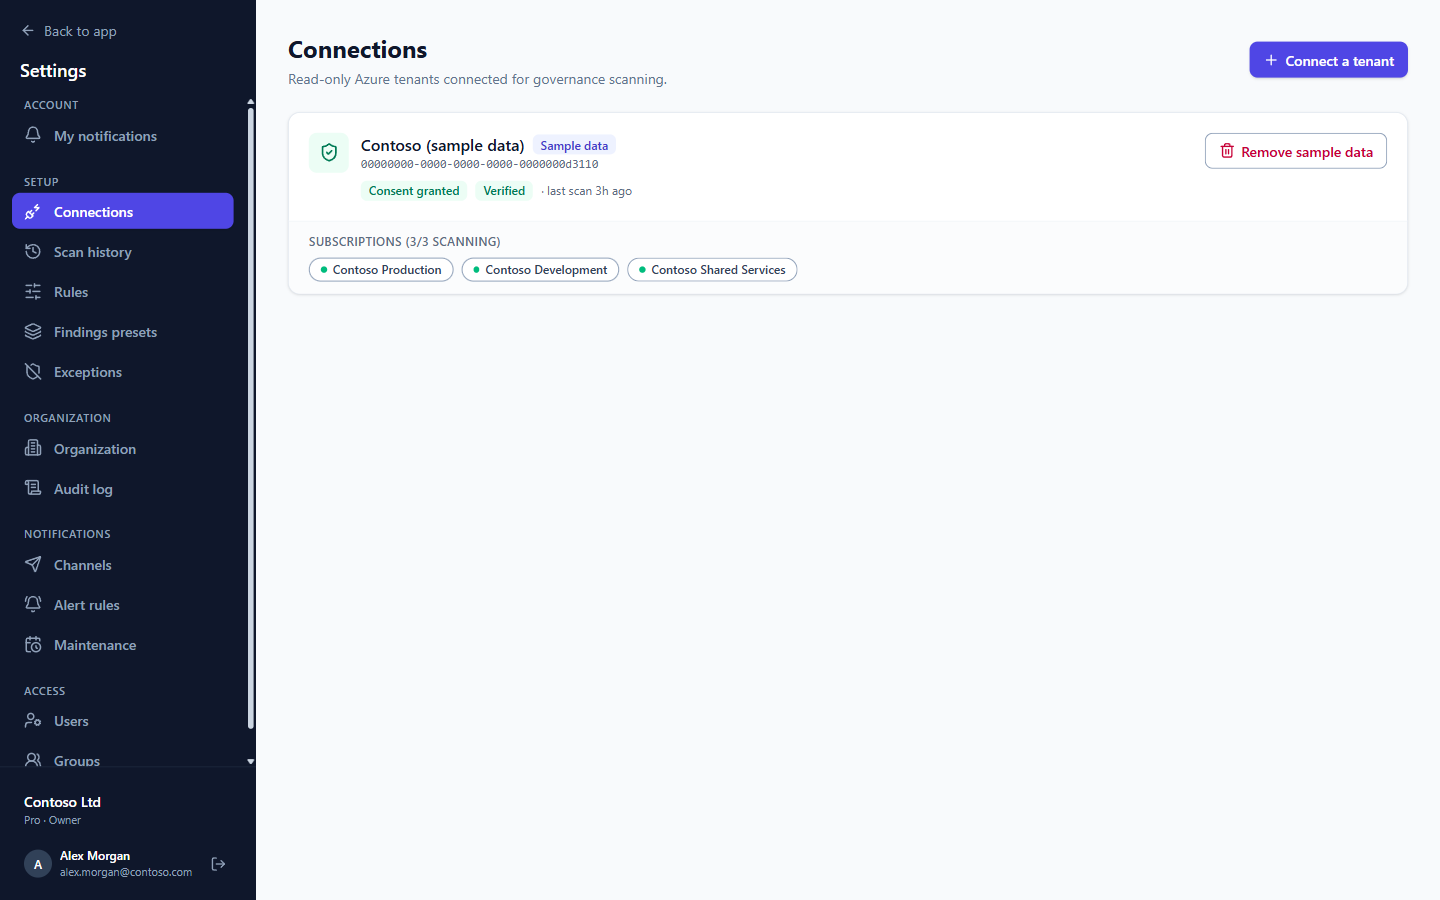
A new organization starts with a fictional estate — Contoso (sample data) — so every page has something to show before your own scan finishes: findings across most areas, initiatives, exceptions, cost and activity history. It is never scanned and is clearly labelled.
When you are ready, remove it under Settings → Connections → Remove sample data. This deletes the sample connection and everything that came with it; your own connections are not affected.
There is no need to hurry: your own scan history is kept. Days your scans recorded stay in the health-score trend and the maturity-level charts, with the sample taken out of them, and only the days that held nothing but sample data are removed.
Connect a tenant
Go to Settings → Connections and choose Connect a tenant. The wizard walks you through four steps.
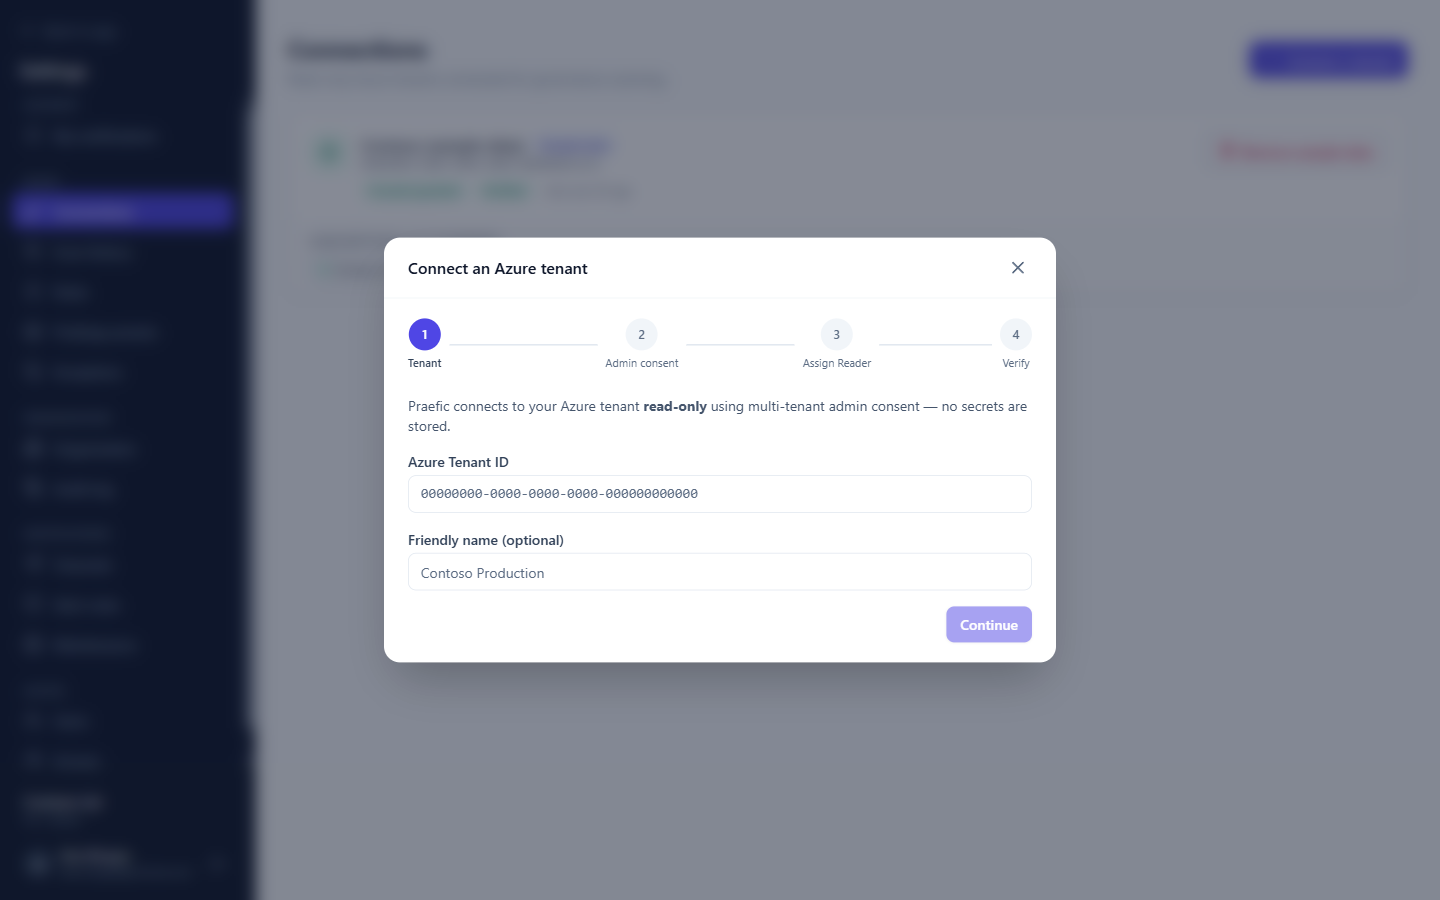
Step 1 — Tenant
Enter your Azure tenant ID (or click Use my tenant to fill in the tenant you signed in with) and, optionally, a friendly name.
Step 2 — Admin consent
Click Open admin consent. Microsoft's consent screen opens in a new tab, asking a tenant administrator to grant the Praefic Scanner app access to your directory. After consenting you are returned to Praefic; if you consented in another tab, just continue.
Note: Consent creates the Praefic Scanner service principal in your tenant. It does not by itself grant access to any subscription — that is step 3.
Step 3 — Assign Reader
Give the Praefic Scanner app the built-in Reader role. The wizard shows the exact command, with your tenant's values filled in. Assigning it at the tenant root management group is recommended — it covers every current and future subscription:
az role assignment create \
  --assignee <praefic-scanner-app-id> \
  --role Reader \
  --scope /providers/Microsoft.Management/managementGroups/<tenant-id>
To scope Praefic to a single subscription instead, use --scope /subscriptions/<subscription-id>. You can also assign the role in the Azure portal: Subscription → Access control (IAM) → Add role assignment → Reader, and select Praefic Scanner.
Step 4 — Verify
Click Verify access. Praefic lists the subscriptions it can see; scanning starts automatically.
Choose what is scanned
Each discovered subscription appears under its connection and can be switched off and on individually. Praefic only scans enabled subscriptions.
Scans
- The first scan starts as soon as access is verified; most areas finish within minutes. Cost history is back-filled over the following scans.
- After that, every area is scanned on a schedule (daily by default) — each area keeps its own schedule, so scanning one area by hand never delays the others.
- Scan now on the dashboard starts a scan immediately.
- Settings → Scan history shows every scan, what it examined, and any subscription Azure refused to answer for.
If a scan can only partly read your tenant — for example because Reader was removed from one subscription — Praefic says so on the affected pages and keeps showing the last good data for that subscription, labelled with its age, rather than silently dropping it.
Invite your team
Colleagues from the same Entra tenant join your organization by signing in. Manage their roles under Settings → Users and organize them into Groups, which you can assign findings to.